Looking back, I realize my kitchen skills have vastly improved! It's so nice to be able to actually SEE your progress.
Let me show you a picture from last year compared to a more recent one:
See? Not only have my macarons improved, but also my picture-taking skills :) I'm excited to see where the next year will take me, I have lots of new goals and lots of motivation.
But first, here is a list of top 10 personal favorite recipes I've stumbled upon in the past year:
10. Berry Mousse Cakes
I liked these mostly because I felt a sense of accomplishment after completing them :) Taste-wise they are a perfect light dessert. Not something I would make for kiddos, but more for the mature palate. I'm a cross between those two so that's why it's only my number 10.
9. Guava Cupcakes
These would be my number one, but I haven't yet perfected them. With a good cream cheese frosting and the guava jelly on the inside instead of on the top, they will be perfect.
8. S'more Bars
Now THESE are perfect kiddo treats. Easy and so yummy. I rate them a 9.
7. Magnolia's Banana Pudding
These should probably be higher on the list, but oh well. They are rich but in a good way, and I have trouble comprehending how they can be so yummy with such a simple recipe. Next time I go to Magnolia's I will be getting something besides their banana pudding...because it can be made so easily at home.
6. Corn Avocado Salsa
I use this as a dip and as a taco topping. It's scrumptrilescent.
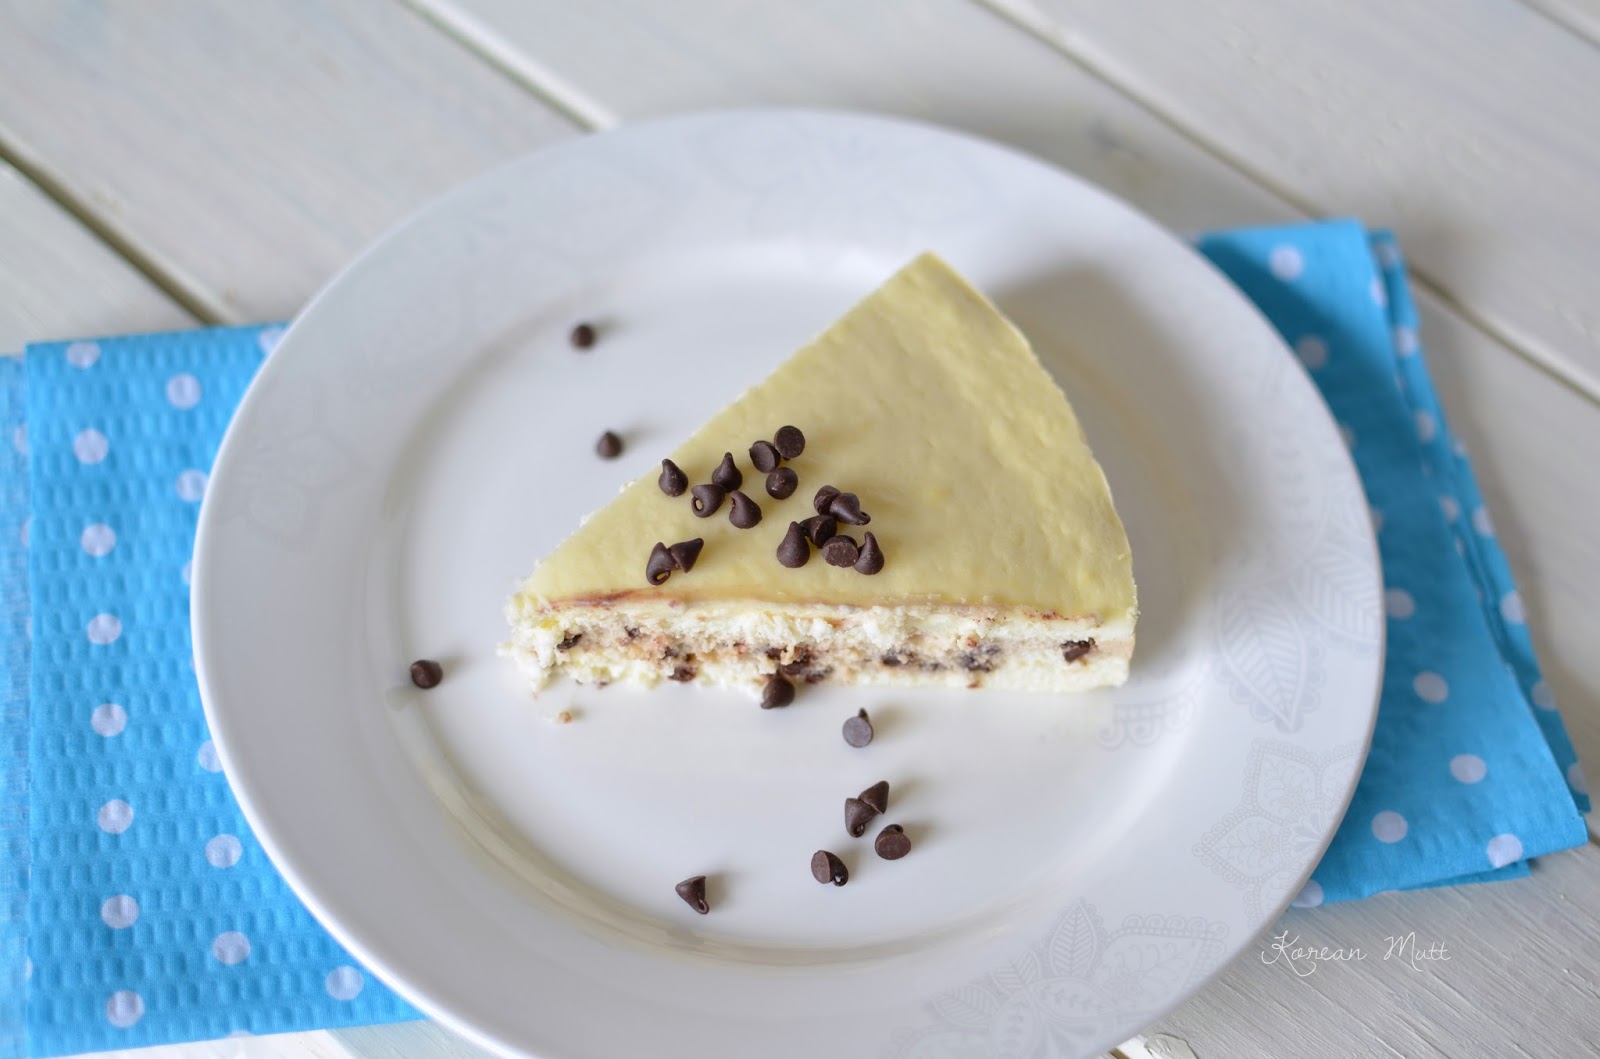
5. Japanese Cheesecake
I love cheesecake. Japanese cheesecake is dangerous because it's not so rich as American cheesecakes so you eat triple what you should have without even realizing it...
4. Fudge Brownies
Everyone has their own brownie recipe. But this is now mine. I used to think box brownies were just as good...but now I second guess.
3. Texas Chili
I am no meat-eater. Hubby and I make a good team because I pick out the vegetables and he will eat my remaining meat. But this. This stuff is good.
2. Blueberry Oatmeal Cookies
I could eat these forever. The basic cookie batter is from my mother-in-law who makes the best chocolate chip cookies in the world. These could only possibly be improved with some macadamia nuts, but I'm too cheap to buy them.
1. Nutella Tarts
This recipe is from Pierre Herme. And it's perfect. Next time I will be trying his "perfect tart dough" recipe with it.
Showing posts with label Japanese dessert. Show all posts
Tuesday, December 31, 2013
Thursday, September 12, 2013
Japanese Layered Chocolate Cheesecake
Yes cheesecakes are different in Asia (or what I know of Asia, i.e. Korea and Japan).
They still taste like traditional cheesecake but they're lighter and fluffier. Here we have NY style cheesecakes and such, which are very dense and rich. My hubby bought me one for my birthday back in the Spring and it was so rich I ate about two bites...
This Japanese cheesecake I've eaten a *bit* more of...
The reason it's lighter is because the cream cheese mixture is folded into a French meringue. For mine I added a chocolate layer in the middle which requires a few more steps but it's delicious so I think it's worth it. This is the best thing I've made in a while.
Made this the day before hubby had to leave me :(
He'll be gone for an entire month doing survival trainings and such. Guess I better get into better shape before he comes back (^.^) Nope just kidding.
Basically you need 2 packages of cream cheese and 5 eggs. Separate everything as stated in the ingredient list, but you can combine the egg whites. That's all :) Happy baking~
Japanese Layered Chocolate Cheesecake
Makes one 9-in round cake
Adapted from Green Cilantro
Directions:
Using a 9-in spring form pan, prep it by first spraying it with oil. Then cut parchment paper pieces to fit around the inside and on the bottom of the pan. Spray that again with oil and lightly flour the bottom. Then take foil and cover the bottom of the pan, wrapping it up the sides to protect it from the water bath it will go into. (See picture below.)
1. Prep a double boiler.
While that is heating up, wrap the cream cheese in plastic wrap and microwave until soft to the touch (should only take 15-30 seconds). In a small saucepan set on the lowest heat setting, melt the butter then add the cream cheese. Whisk until smooth then set aside.
2. In a small bowl, mix together the egg yolks and sugar. Add in the cornstarch.
Heat your milk in the microwave until it starts boiling.
Place the egg mixture into the double boiler and whisk it continuously while very gradually adding the boiling milk. Continue whisking until the mixture has thickened.
3. Pour the egg mixture into the cream cheese and combine well.
Repeat steps 1-3 for the chocolate layer.
Preheat oven to 350F and set a pot of water on the stove to boil (for your water bath).
For the French Meringue:
4. Beat your egg whites on medium-low until they begin making a foam. While still beating, very gradually sprinkle in the sugar. Beat until soft peaks.
5. Take 1/3 of the meringue and gently fold it into the chocolate cream cheese. Then fold in the chocolate chips. With the remaining 2/3 meringue, fold it into the original cream cheese.
6. Now to assemble: Pour half of the original batter into the pan and slam the pan a few times to bring out any bubbles. Then pour in all of the chocolate batter and repeat the slamming. Then pour on the rest of the batter.
7. Place your spring form pan on a roasting pan (or I didn't have one so I used a jelly roll pan). Fill with boiling water until it reaches up about 1-1.5 cm.
Bake for 15 minutes. Then lower the temperature to 325 and bake for 40-50 minutes. Turn off the oven and leave it closed for 40-60 minutes.
Let it cool completely, then refrigerate for at least 2 hours or overnight.
They still taste like traditional cheesecake but they're lighter and fluffier. Here we have NY style cheesecakes and such, which are very dense and rich. My hubby bought me one for my birthday back in the Spring and it was so rich I ate about two bites...
This Japanese cheesecake I've eaten a *bit* more of...
The reason it's lighter is because the cream cheese mixture is folded into a French meringue. For mine I added a chocolate layer in the middle which requires a few more steps but it's delicious so I think it's worth it. This is the best thing I've made in a while.
Made this the day before hubby had to leave me :(
He'll be gone for an entire month doing survival trainings and such. Guess I better get into better shape before he comes back (^.^) Nope just kidding.
Basically you need 2 packages of cream cheese and 5 eggs. Separate everything as stated in the ingredient list, but you can combine the egg whites. That's all :) Happy baking~
Japanese Layered Chocolate Cheesecake
Makes one 9-in round cake
Adapted from Green Cilantro
- 300g low-fat cream cheese (1+1/3 packages)
- 45g unsalted butter (about 3.5 T)
- 57g egg yolk (about 3 eggs)
- 20g sugar
- 11g cornstarch
- 150g milk (about 2/3 c)
- 150g low-fat cream cheese (about 2/3 pkg)
- 23g unsalted butter
- 29g egg yolk
- 10g sugar
- 6g cornstarch
- 75g chocolate milk
- 1/2c mini chocolate chips
- 143g egg white (about 4.5 eggs)
- 83g sugar
Directions:
Using a 9-in spring form pan, prep it by first spraying it with oil. Then cut parchment paper pieces to fit around the inside and on the bottom of the pan. Spray that again with oil and lightly flour the bottom. Then take foil and cover the bottom of the pan, wrapping it up the sides to protect it from the water bath it will go into. (See picture below.)
1. Prep a double boiler.
While that is heating up, wrap the cream cheese in plastic wrap and microwave until soft to the touch (should only take 15-30 seconds). In a small saucepan set on the lowest heat setting, melt the butter then add the cream cheese. Whisk until smooth then set aside.
2. In a small bowl, mix together the egg yolks and sugar. Add in the cornstarch.
Heat your milk in the microwave until it starts boiling.
Place the egg mixture into the double boiler and whisk it continuously while very gradually adding the boiling milk. Continue whisking until the mixture has thickened.
3. Pour the egg mixture into the cream cheese and combine well.
Repeat steps 1-3 for the chocolate layer.
Preheat oven to 350F and set a pot of water on the stove to boil (for your water bath).
For the French Meringue:
4. Beat your egg whites on medium-low until they begin making a foam. While still beating, very gradually sprinkle in the sugar. Beat until soft peaks.
5. Take 1/3 of the meringue and gently fold it into the chocolate cream cheese. Then fold in the chocolate chips. With the remaining 2/3 meringue, fold it into the original cream cheese.
6. Now to assemble: Pour half of the original batter into the pan and slam the pan a few times to bring out any bubbles. Then pour in all of the chocolate batter and repeat the slamming. Then pour on the rest of the batter.
7. Place your spring form pan on a roasting pan (or I didn't have one so I used a jelly roll pan). Fill with boiling water until it reaches up about 1-1.5 cm.
Bake for 15 minutes. Then lower the temperature to 325 and bake for 40-50 minutes. Turn off the oven and leave it closed for 40-60 minutes.
Let it cool completely, then refrigerate for at least 2 hours or overnight.
Monday, February 18, 2013
Mini Japanese Strawberry Shortcakes
Had leftover strawberries and didn't know what to do with them. My first thought is always strawberry shortcake. My momma's is the best but I feel like I make it all the time. I think it was my hubby who thought of Japanese strawberry shortcake? Most likely.
Very good idea, hubby.
I didn't use a simple syrup on my cake but I think I should have, especially because my cake didn't come out very fluffy (most likely due to using all-purpose flour instead of cake flour). So I included the simple syrup in the recipe.
Mini Japanese Strawberry Shortcakes
Makes about 10
Ingredients
Cake: (from Daily Delicious HERE)
Directions
Preheat oven to 350F. Prepare a 13x9in jelly roll pan with parchment paper.
Beat the eggs until mixed, then gradually beat in the sugar. Pour 3/4c of that into a separate bowl and fold it in with the butter. Set aside. Gradually fold your flour into the egg/sugar mixture until combined. Now fold in the egg/butter mixture. Then the milk. Pour into your pan and bake for 14-18 minutes. Let cool completely.
Meanwhile, prepare your simple syrup by heating the sugar and water in a small sauce pan over medium high heat. Stir while it is coming to a boil. When the sugar is dissolved, remove from heat and let cool. (Save this sauce pan for your gelatin.)
Dice your strawberries, place them in a bowl, and sprinkle with sugar. (I used about a tablespoon.) Leave those in the fridge for about 30 minutes.
To prep for the cream, place a large mixing bowl and beaters into the freezer for 10 minutes. While waiting, make your gelatin. Pour the 4T of cold water into your small sauce pan and sprinkle the gelatin over it. Let that sit for 5 minutes. Then turn your burner to low heat and stir the gelatin until it's all dissolved. Let cool a bit. (If it hardens, stir it.)
Take out the bowl and beaters and beat together your whipping cream, vanilla and sugar for about one minute. Then add the gelatin and beat until stiff peaks form.
Assembly:
Use a small biscuit cutter to cut circles from your cake. The circles fit perfectly into my mini cheesecake pan that has removable bottoms. (If you don't have something like that you can just form a free-standing strawberry shortcake sandwich :) Place one circle in the bottom of each well and brush with the syrup. Form a generous strawberry layer on top of that. Take a small ziploc bag and cut a small hole in the corner, then fill with the cream. Use this to pipe the cream onto the strawberry layer. Finally, top with one more cake circle and brush that with the syrup.
Let those set in the fridge for at least an hour (or in the freezer for about 30 minutes). Top with a dollop of leftover cream and a strawberry halve.
Nom.
Very good idea, hubby.
I didn't use a simple syrup on my cake but I think I should have, especially because my cake didn't come out very fluffy (most likely due to using all-purpose flour instead of cake flour). So I included the simple syrup in the recipe.
Mini Japanese Strawberry Shortcakes
Makes about 10
Ingredients
Cake: (from Daily Delicious HERE)
- 3 eggs
- 90g sugar
- 90g cake flour, sifted (I used all-purpose and subtracted a tablespoon, but I'd recommend cake flour)
- 20g unsalted butter, melted
- 20ml milk
- 1/4 c sugar
- 1/4 c water
- 1-1/2c whipping cream
- 45g powdered sugar, sifted
- 1 tsp vanilla
- 4 Tbsp cold water
- 1 Tbsp gelatin
- strawberries (about 8)
- sugar
Directions
Preheat oven to 350F. Prepare a 13x9in jelly roll pan with parchment paper.
Beat the eggs until mixed, then gradually beat in the sugar. Pour 3/4c of that into a separate bowl and fold it in with the butter. Set aside. Gradually fold your flour into the egg/sugar mixture until combined. Now fold in the egg/butter mixture. Then the milk. Pour into your pan and bake for 14-18 minutes. Let cool completely.
Meanwhile, prepare your simple syrup by heating the sugar and water in a small sauce pan over medium high heat. Stir while it is coming to a boil. When the sugar is dissolved, remove from heat and let cool. (Save this sauce pan for your gelatin.)
Dice your strawberries, place them in a bowl, and sprinkle with sugar. (I used about a tablespoon.) Leave those in the fridge for about 30 minutes.
To prep for the cream, place a large mixing bowl and beaters into the freezer for 10 minutes. While waiting, make your gelatin. Pour the 4T of cold water into your small sauce pan and sprinkle the gelatin over it. Let that sit for 5 minutes. Then turn your burner to low heat and stir the gelatin until it's all dissolved. Let cool a bit. (If it hardens, stir it.)
Take out the bowl and beaters and beat together your whipping cream, vanilla and sugar for about one minute. Then add the gelatin and beat until stiff peaks form.
Assembly:
Use a small biscuit cutter to cut circles from your cake. The circles fit perfectly into my mini cheesecake pan that has removable bottoms. (If you don't have something like that you can just form a free-standing strawberry shortcake sandwich :) Place one circle in the bottom of each well and brush with the syrup. Form a generous strawberry layer on top of that. Take a small ziploc bag and cut a small hole in the corner, then fill with the cream. Use this to pipe the cream onto the strawberry layer. Finally, top with one more cake circle and brush that with the syrup.
Let those set in the fridge for at least an hour (or in the freezer for about 30 minutes). Top with a dollop of leftover cream and a strawberry halve.
Nom.
Subscribe to:
Comments (Atom)
Powered by Blogger.


